So Virginia has a legitimate reason to freak out over this snow storm. While being trapped I was unable to do the traveling that I wanted to do while my brother visited. So instead of being bummed out about being trapped inside I decided to dive into Lightroom and learn more Techniques.
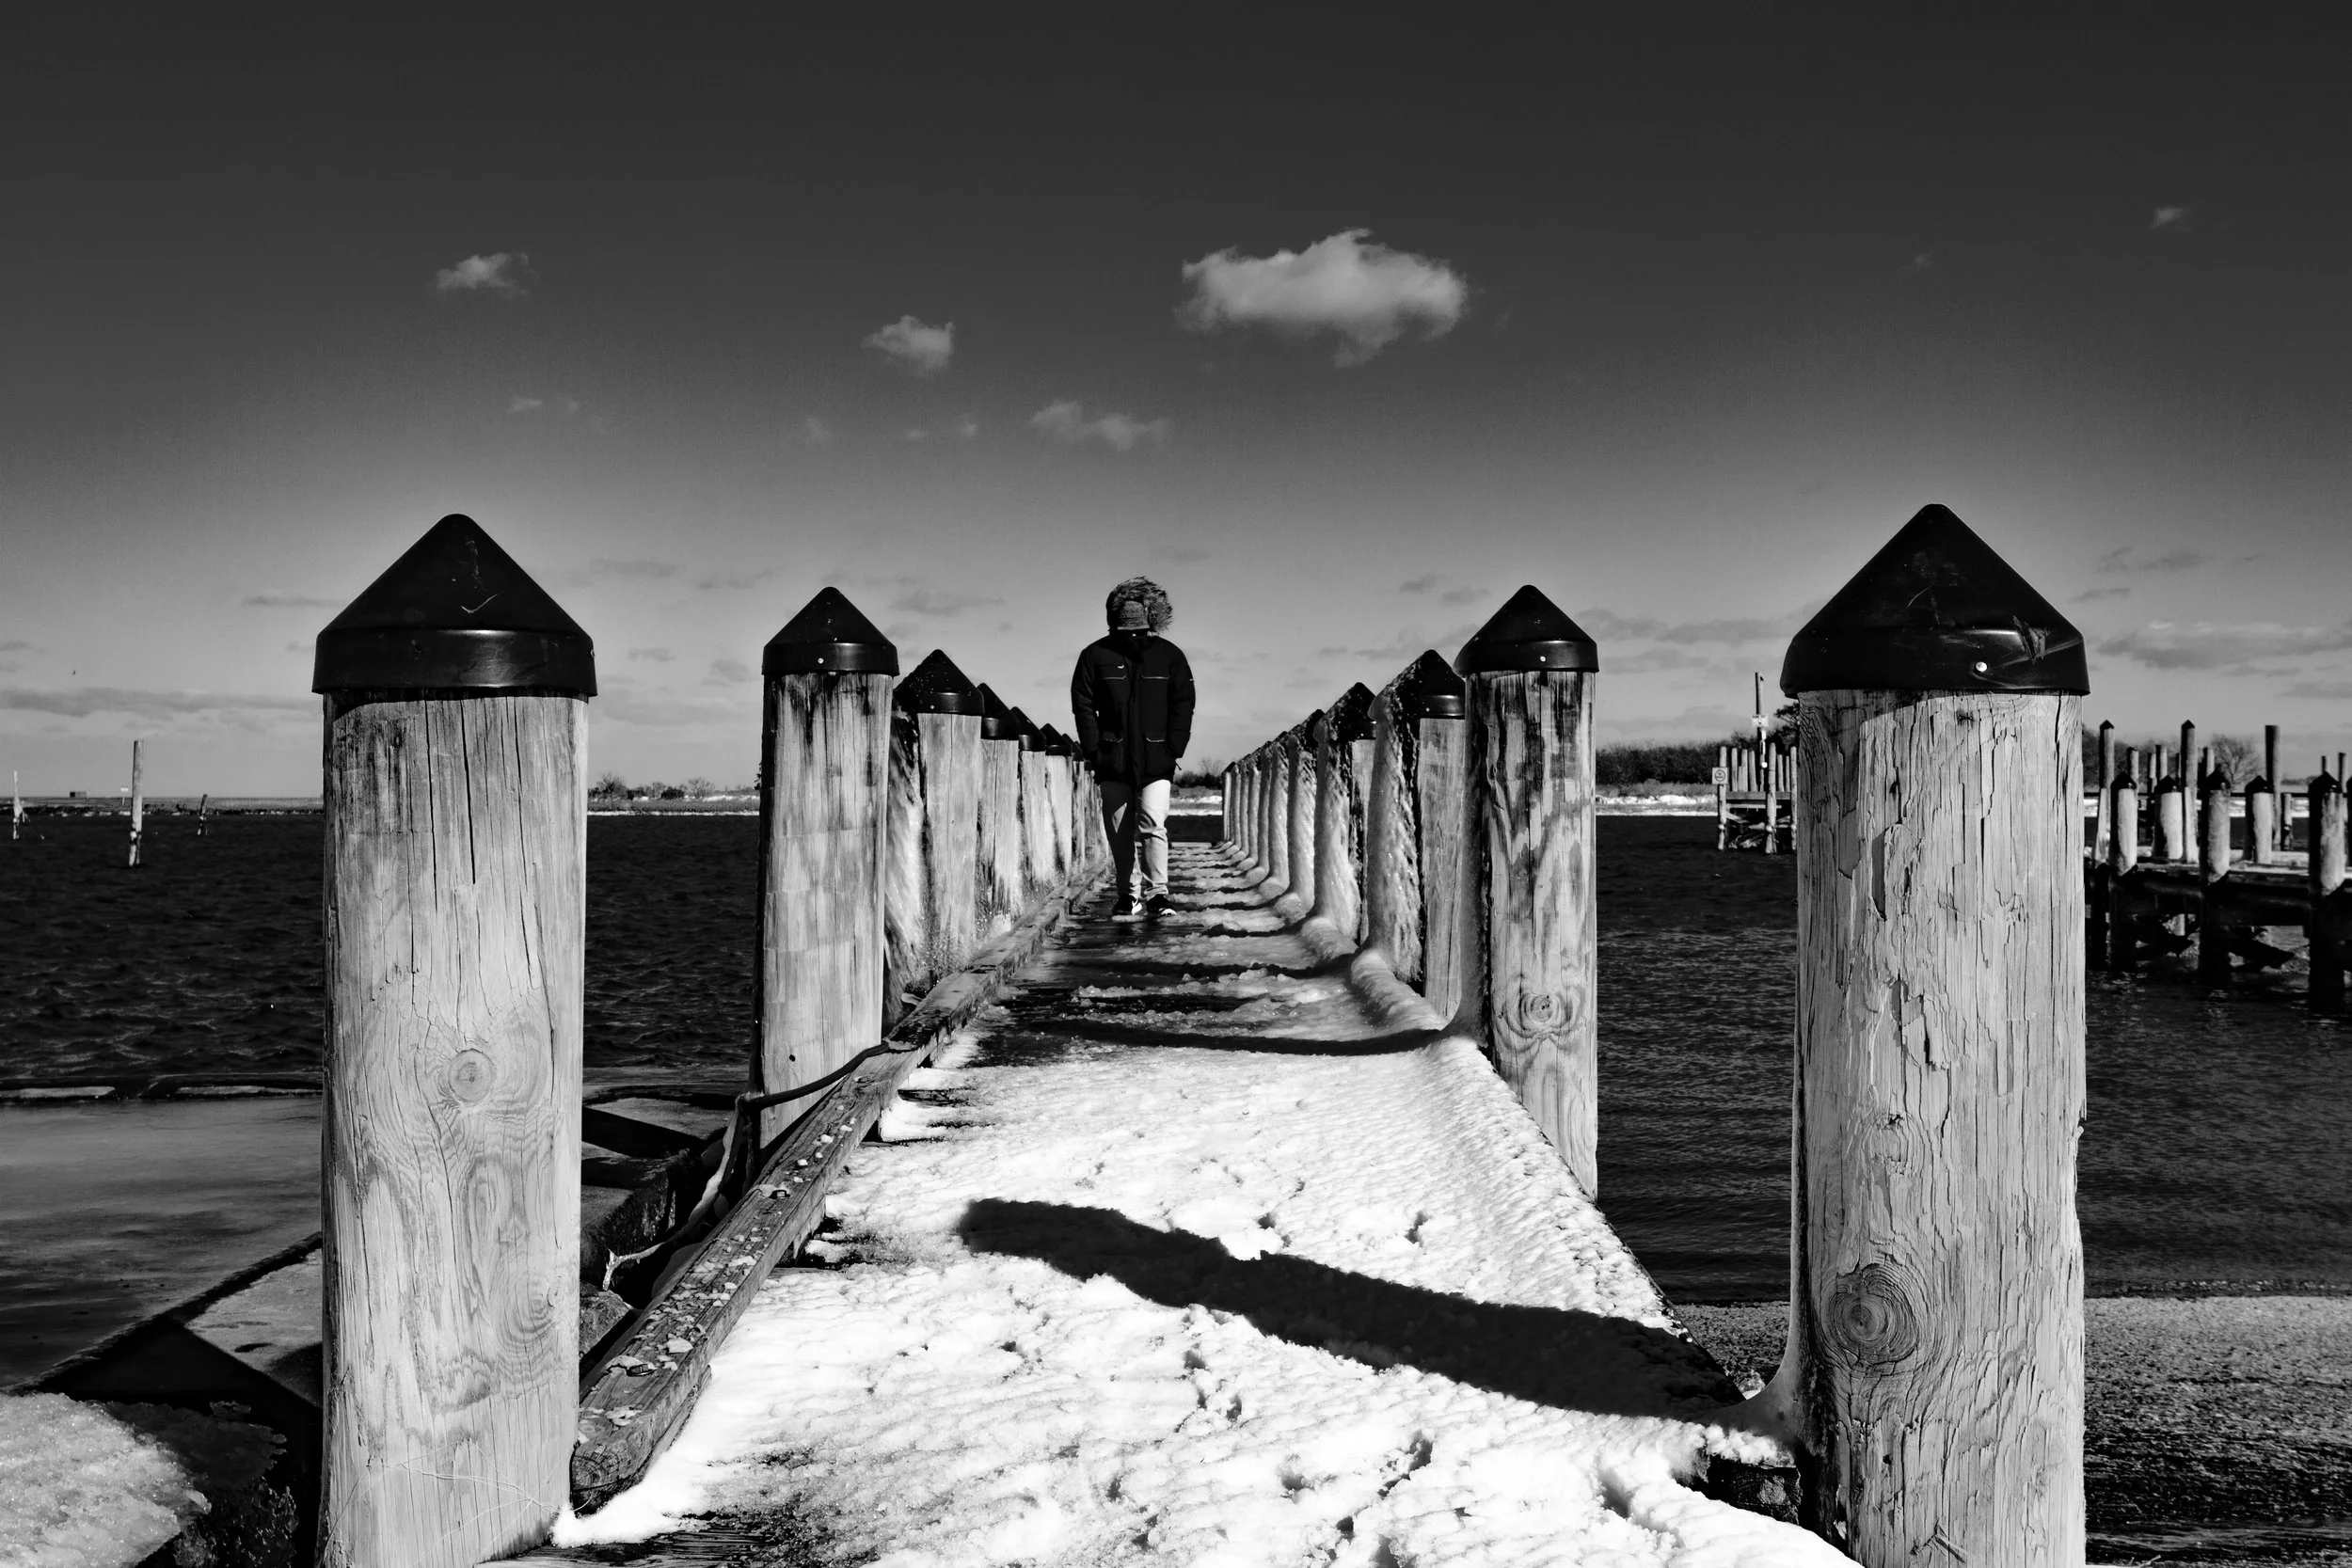
"His Misery made a good shot for you". ~Friend. Very true statement, we were both miserable it was 15 degrees out next to the ocean front.
So even though we were locked in the first few days, The weather lightened up enough where I was able to go out and get a few shots here and there, but not much was produced.
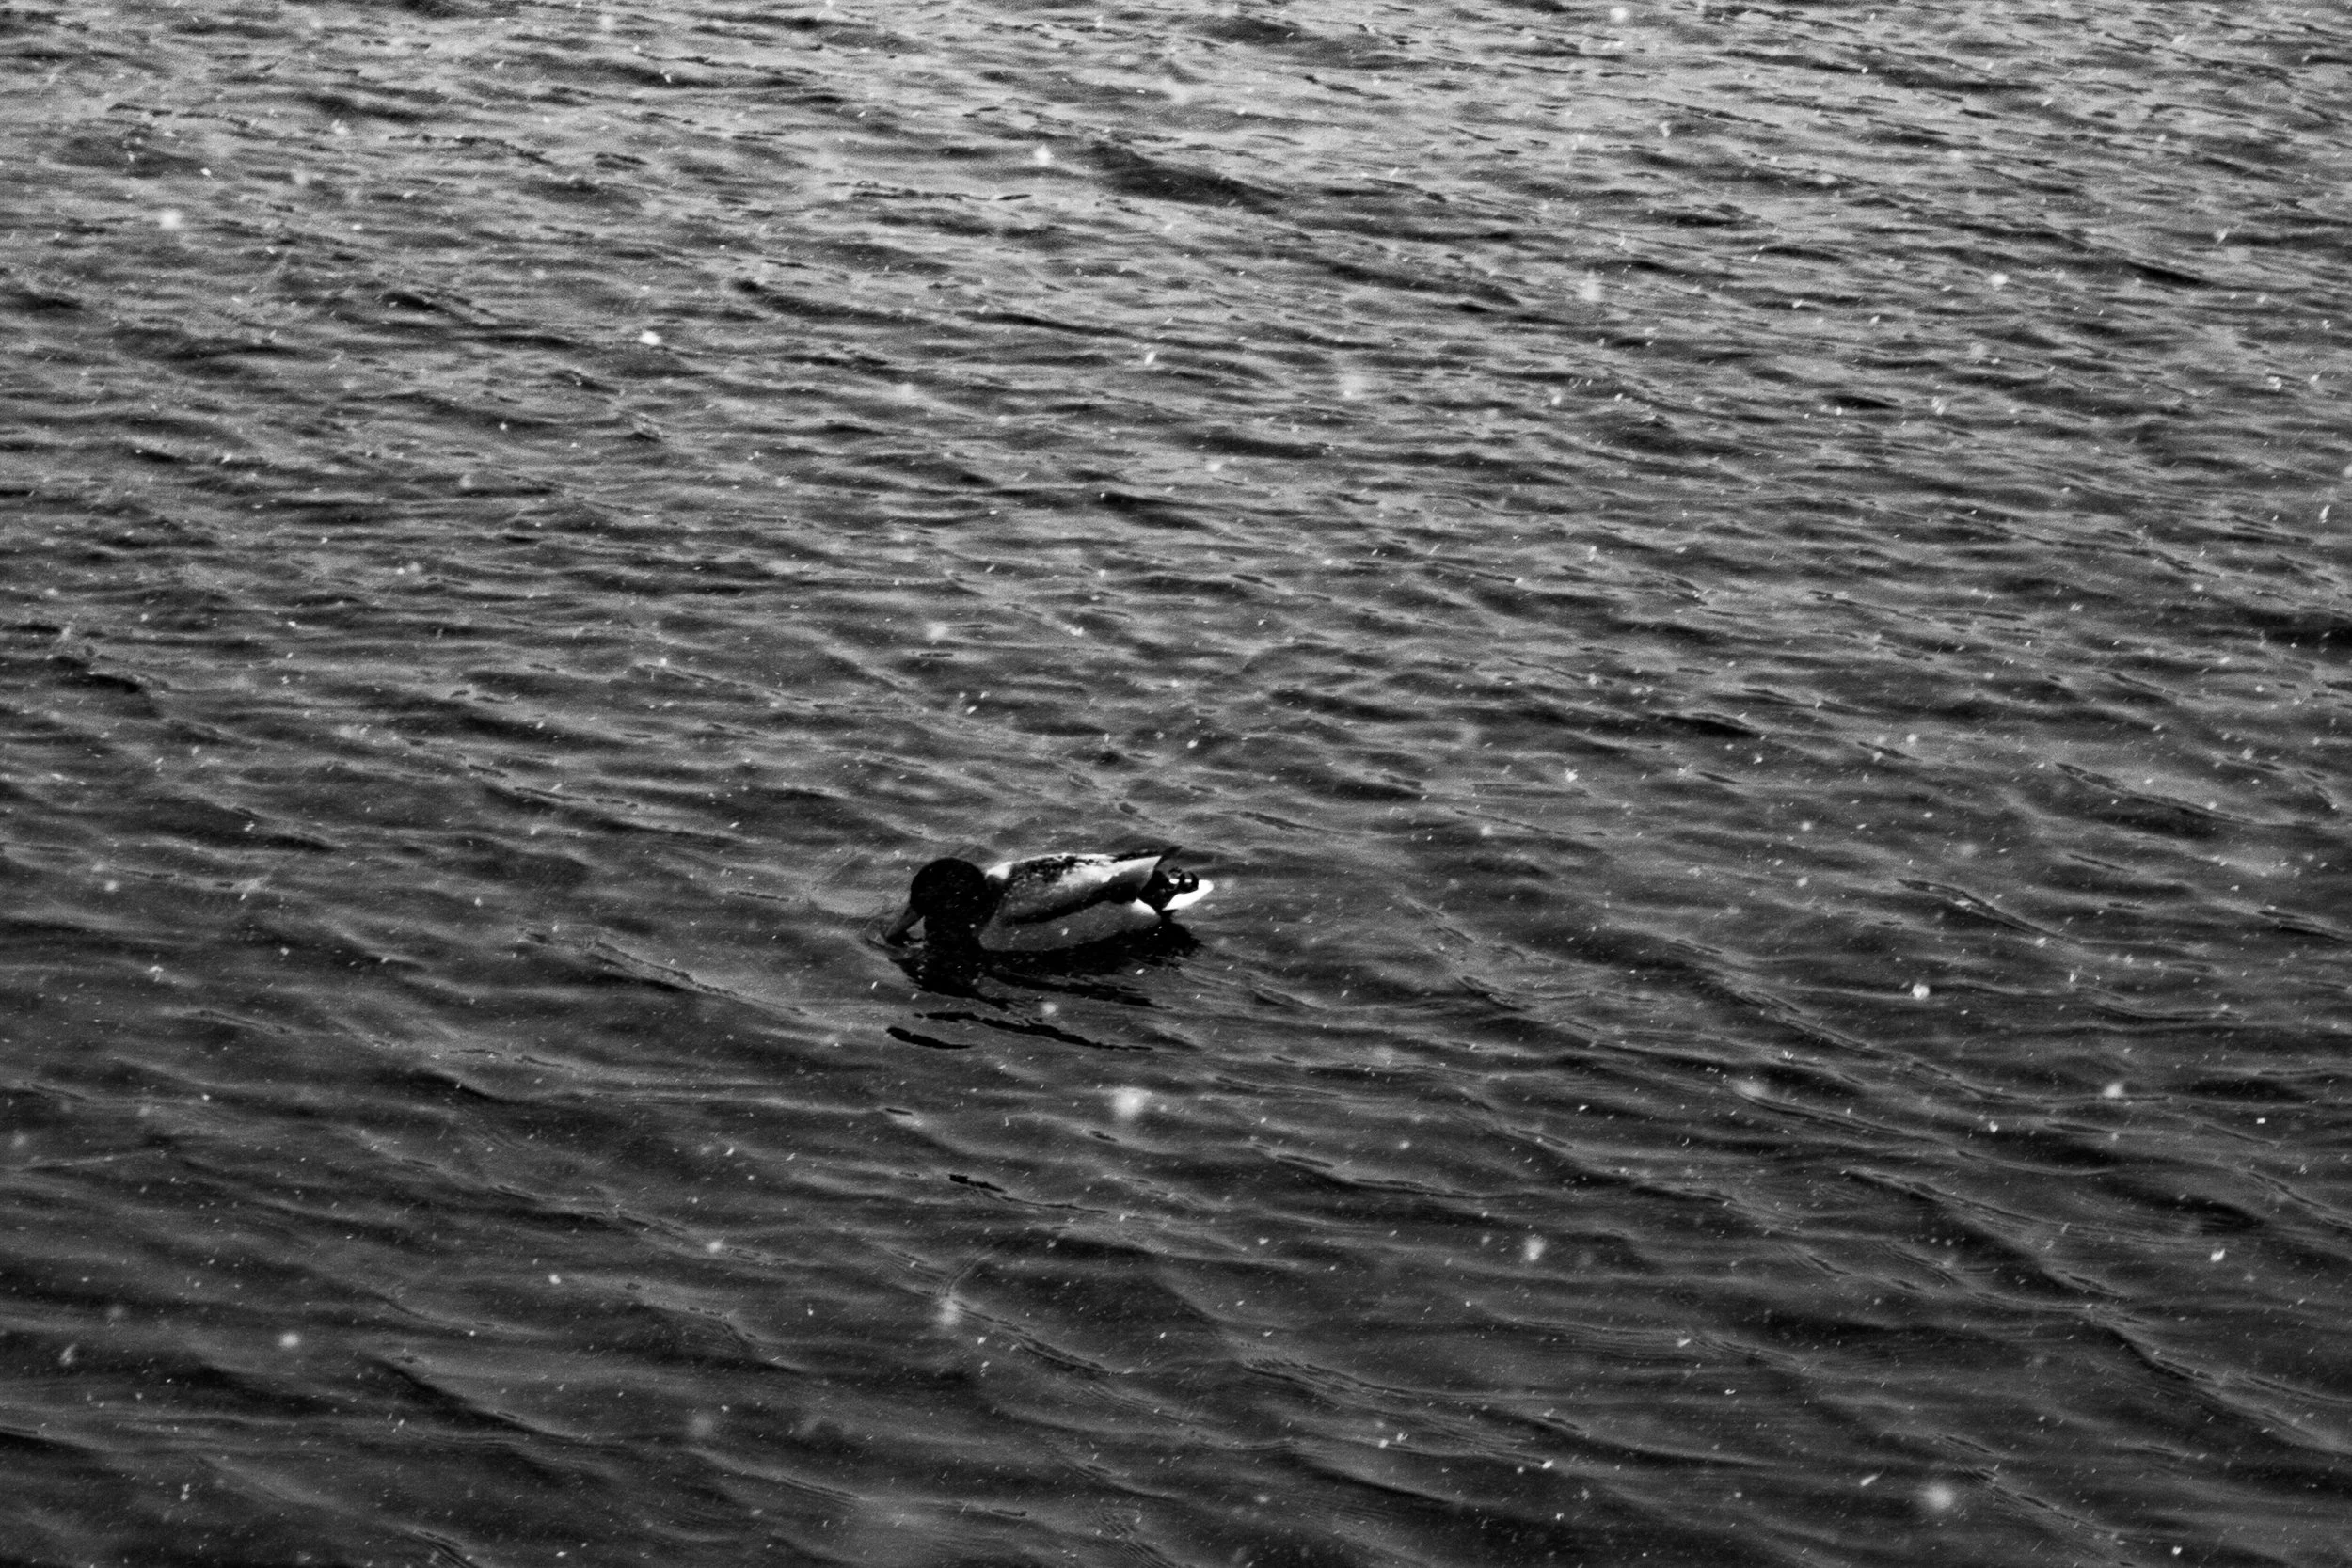
I always wondered how ducks stay warm in freezing temperatures.
So one of the techniques I learned was Selective Coloring. There are 2 ways I learned how to do this in Lightroom. The first way was through color saturation under the HSL menu. Get rid of the majority of the colors that do not relate to the primary subject. This way works if it's an extremely simple photograph.
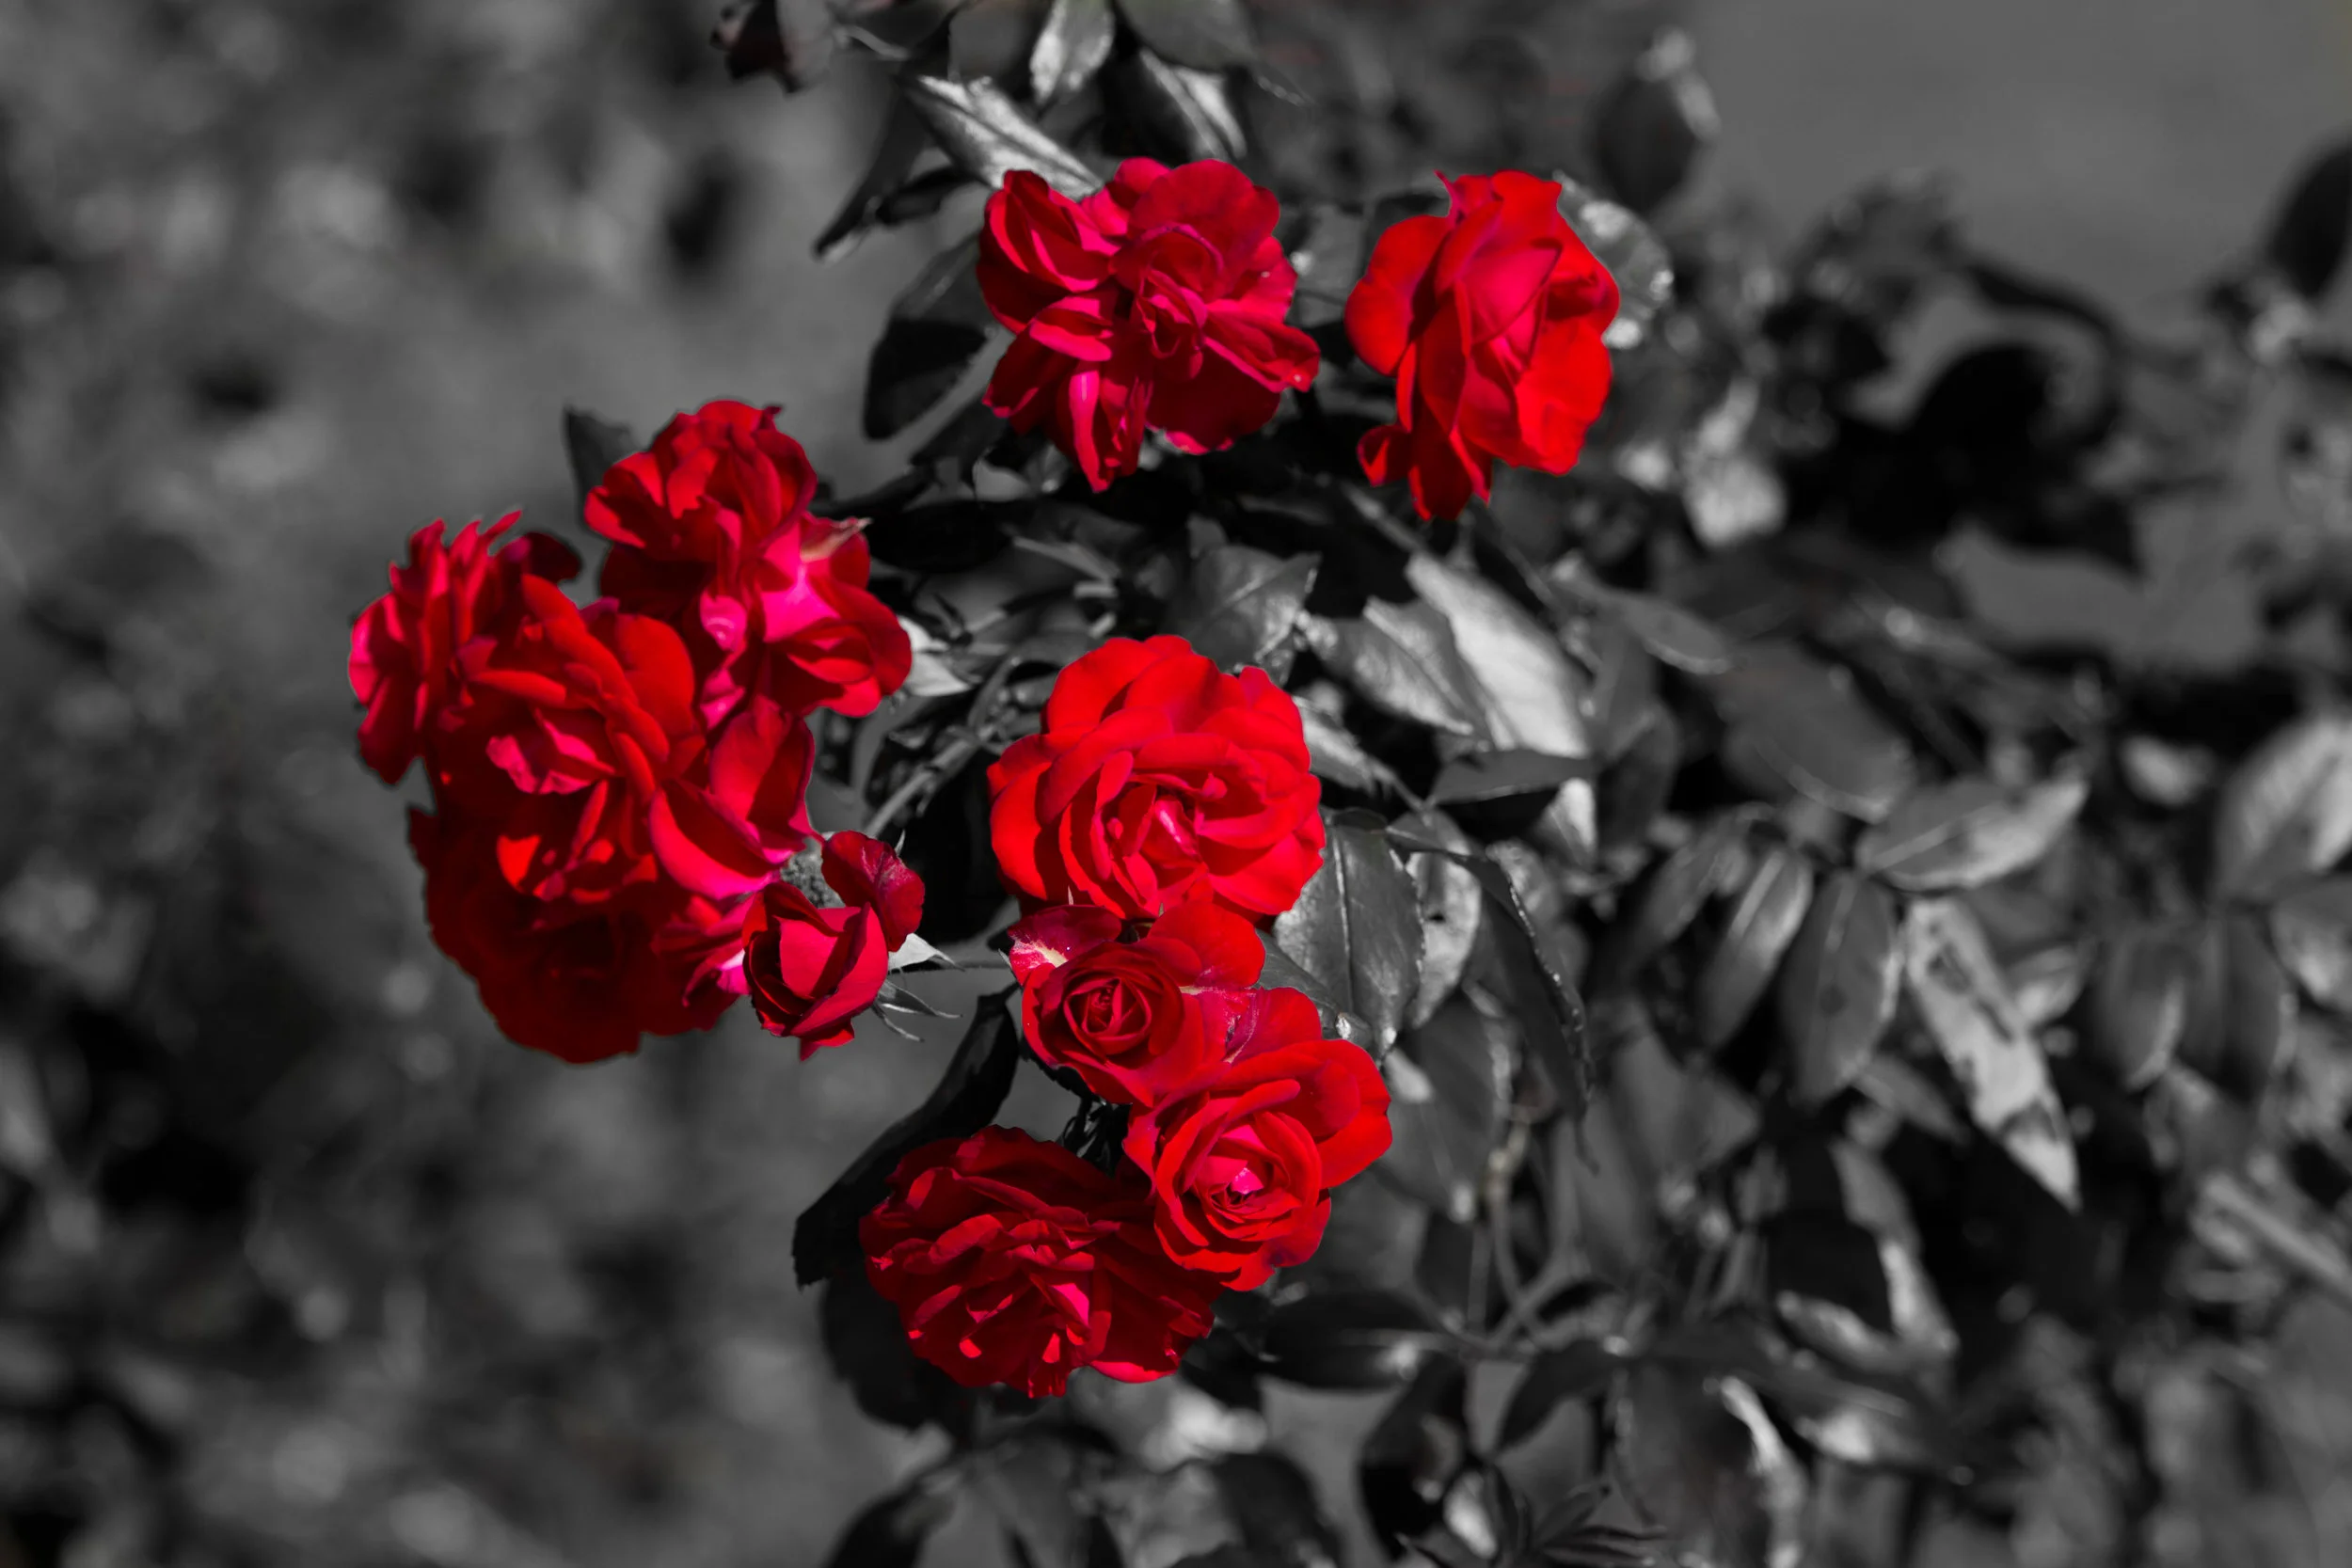
Roses Taken at the Norfolk Botanical Garden
For example the roses above, the saturation technique would have worked. But we all know that's not how the world works. Even though the primary color is red, we know there are gentle hues of Magenta, Yellow and possibly Orange in there too, causing the image to look flat if removed. So to make the roses pop and maintain the colors I had to do it the 2nd way, which is far more time consuming but the results will always be stunning. Simply open the "Adjustment Brush" and drop the saturation down to 0%, adjust the Highlights, Shadows, Whites, and Blacks, however, you like to make the background more "contrasty" to the main subject and just start outlining.
Juan Lagares at Binghamton Mets, recovering from injury.
There may be easier ways to do this, but for me, I feel if I get involved with my work like this, I start noticing small details I have not noticed before, and it's nice to notice those things.
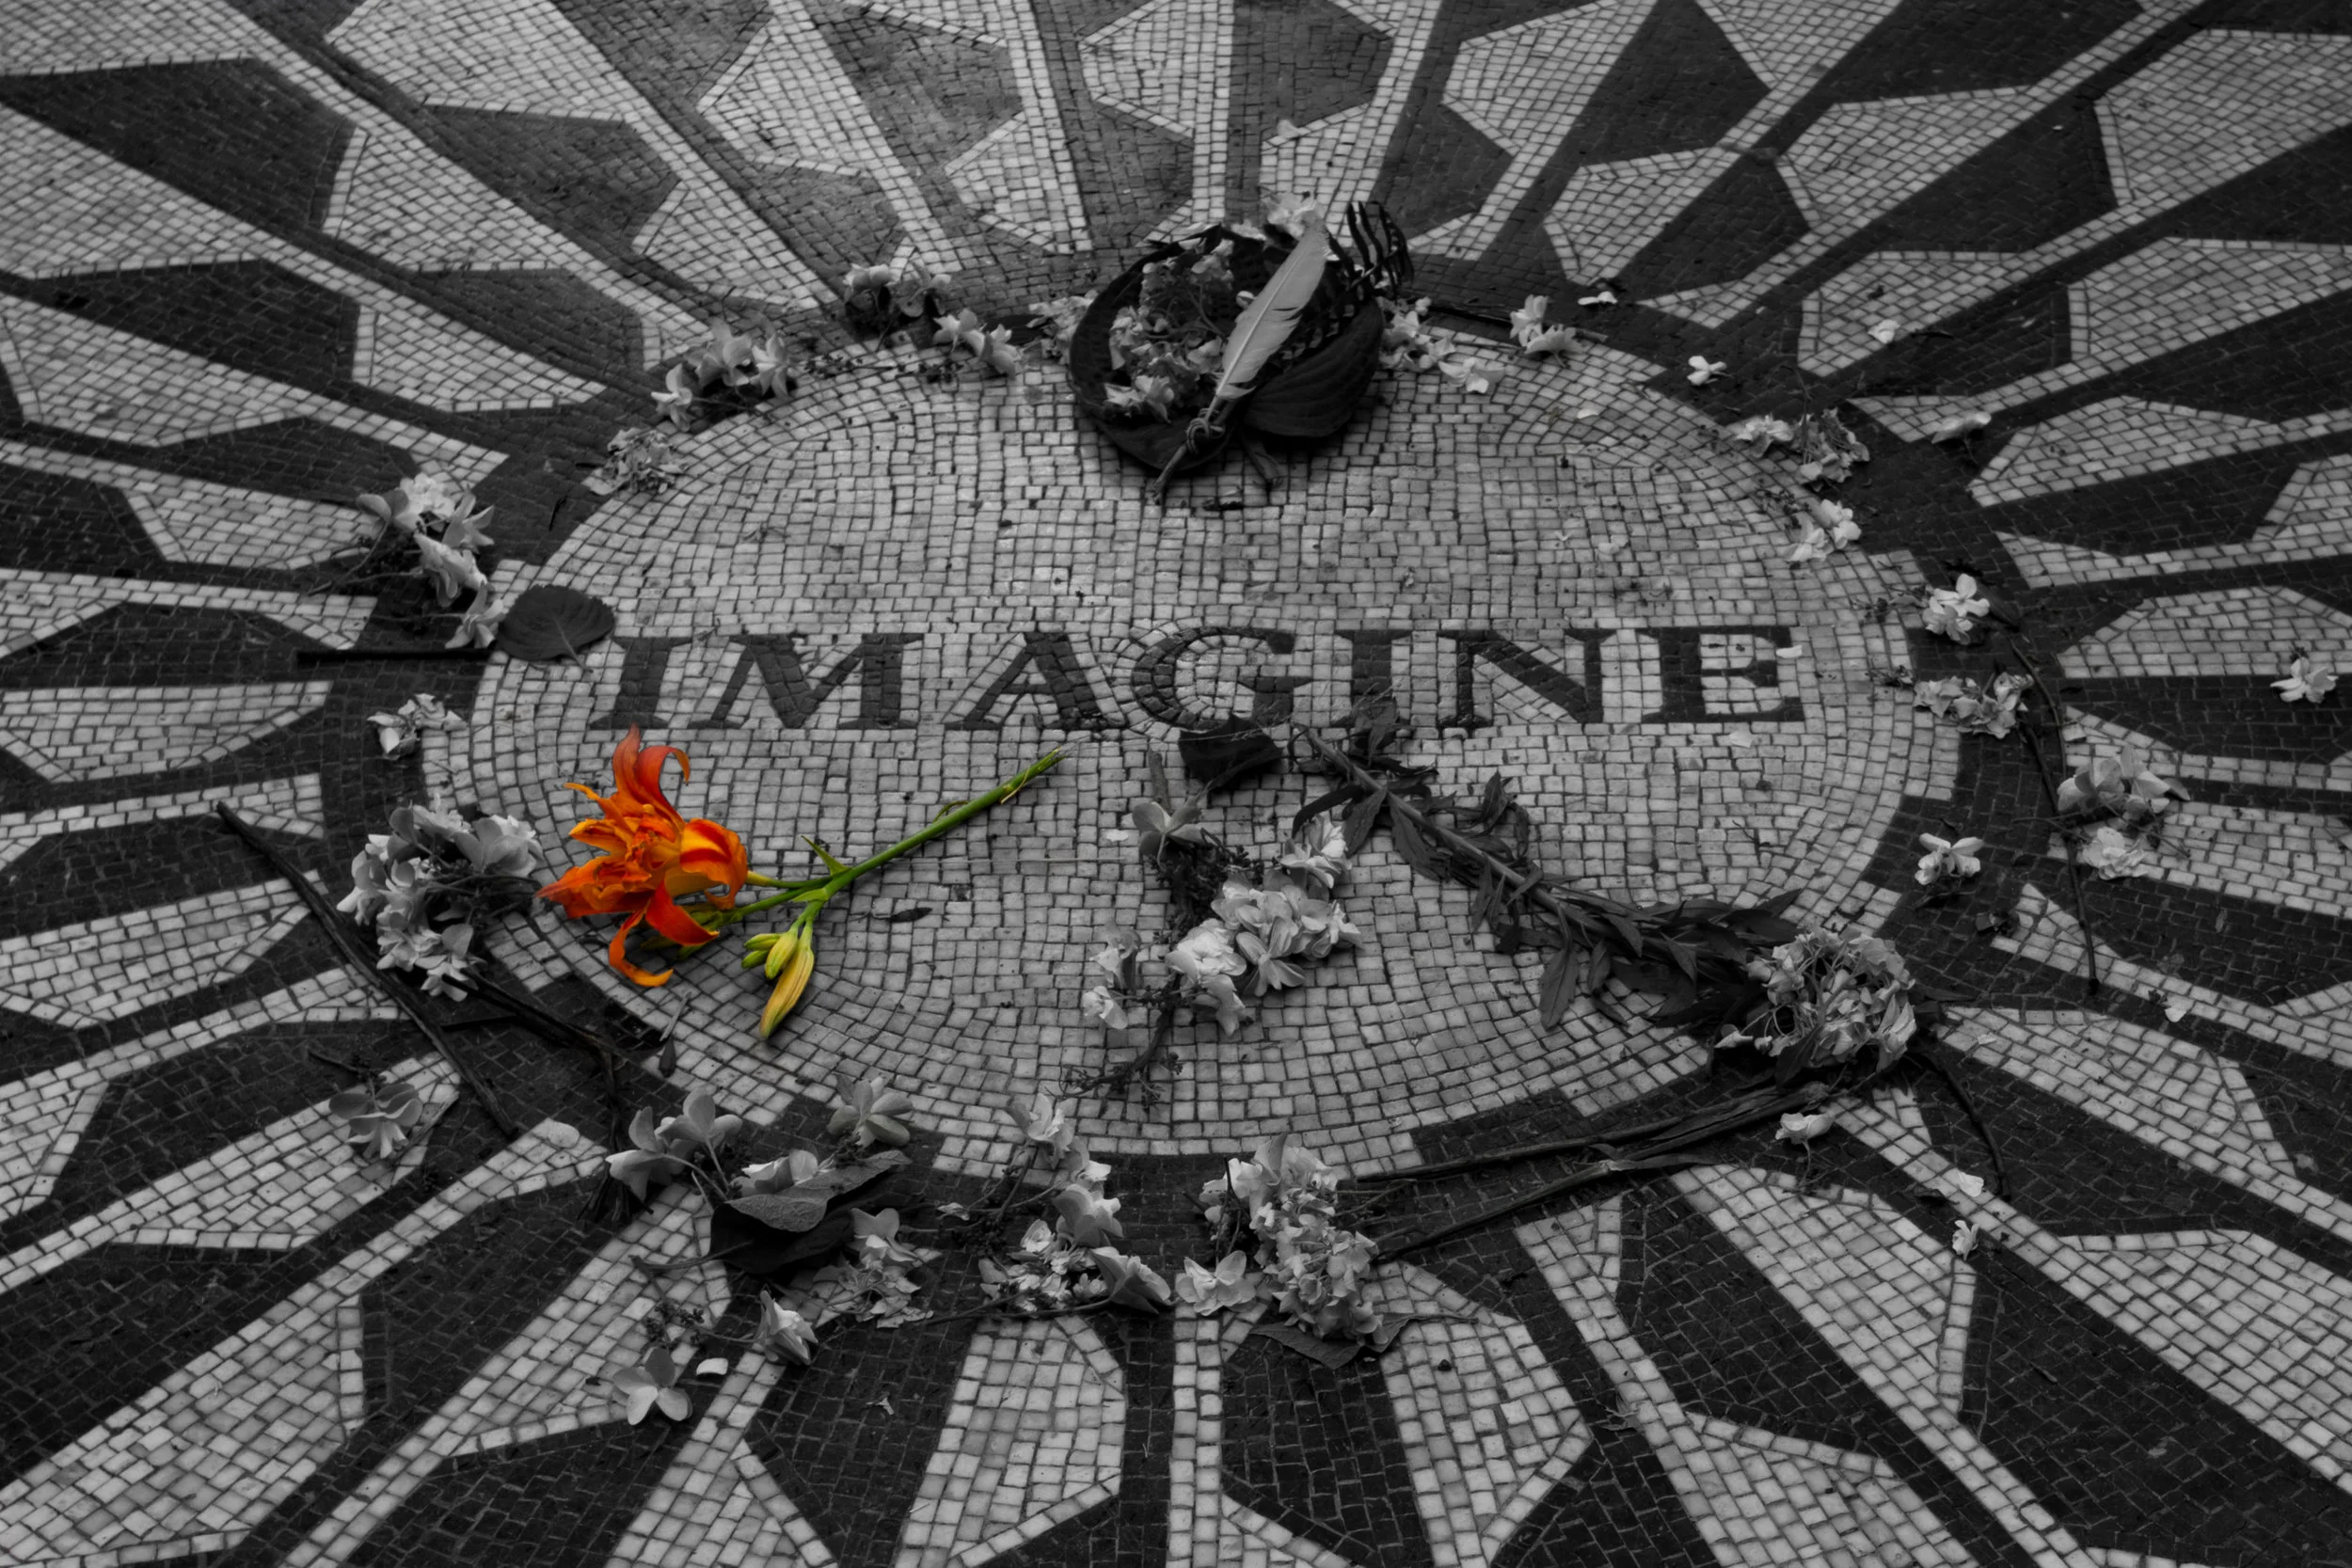
John Lennon Memorial at Central Park.
2nd thing i learned over my Snow Day is the extremely involved process of turning a Day Photograph into a Night one.
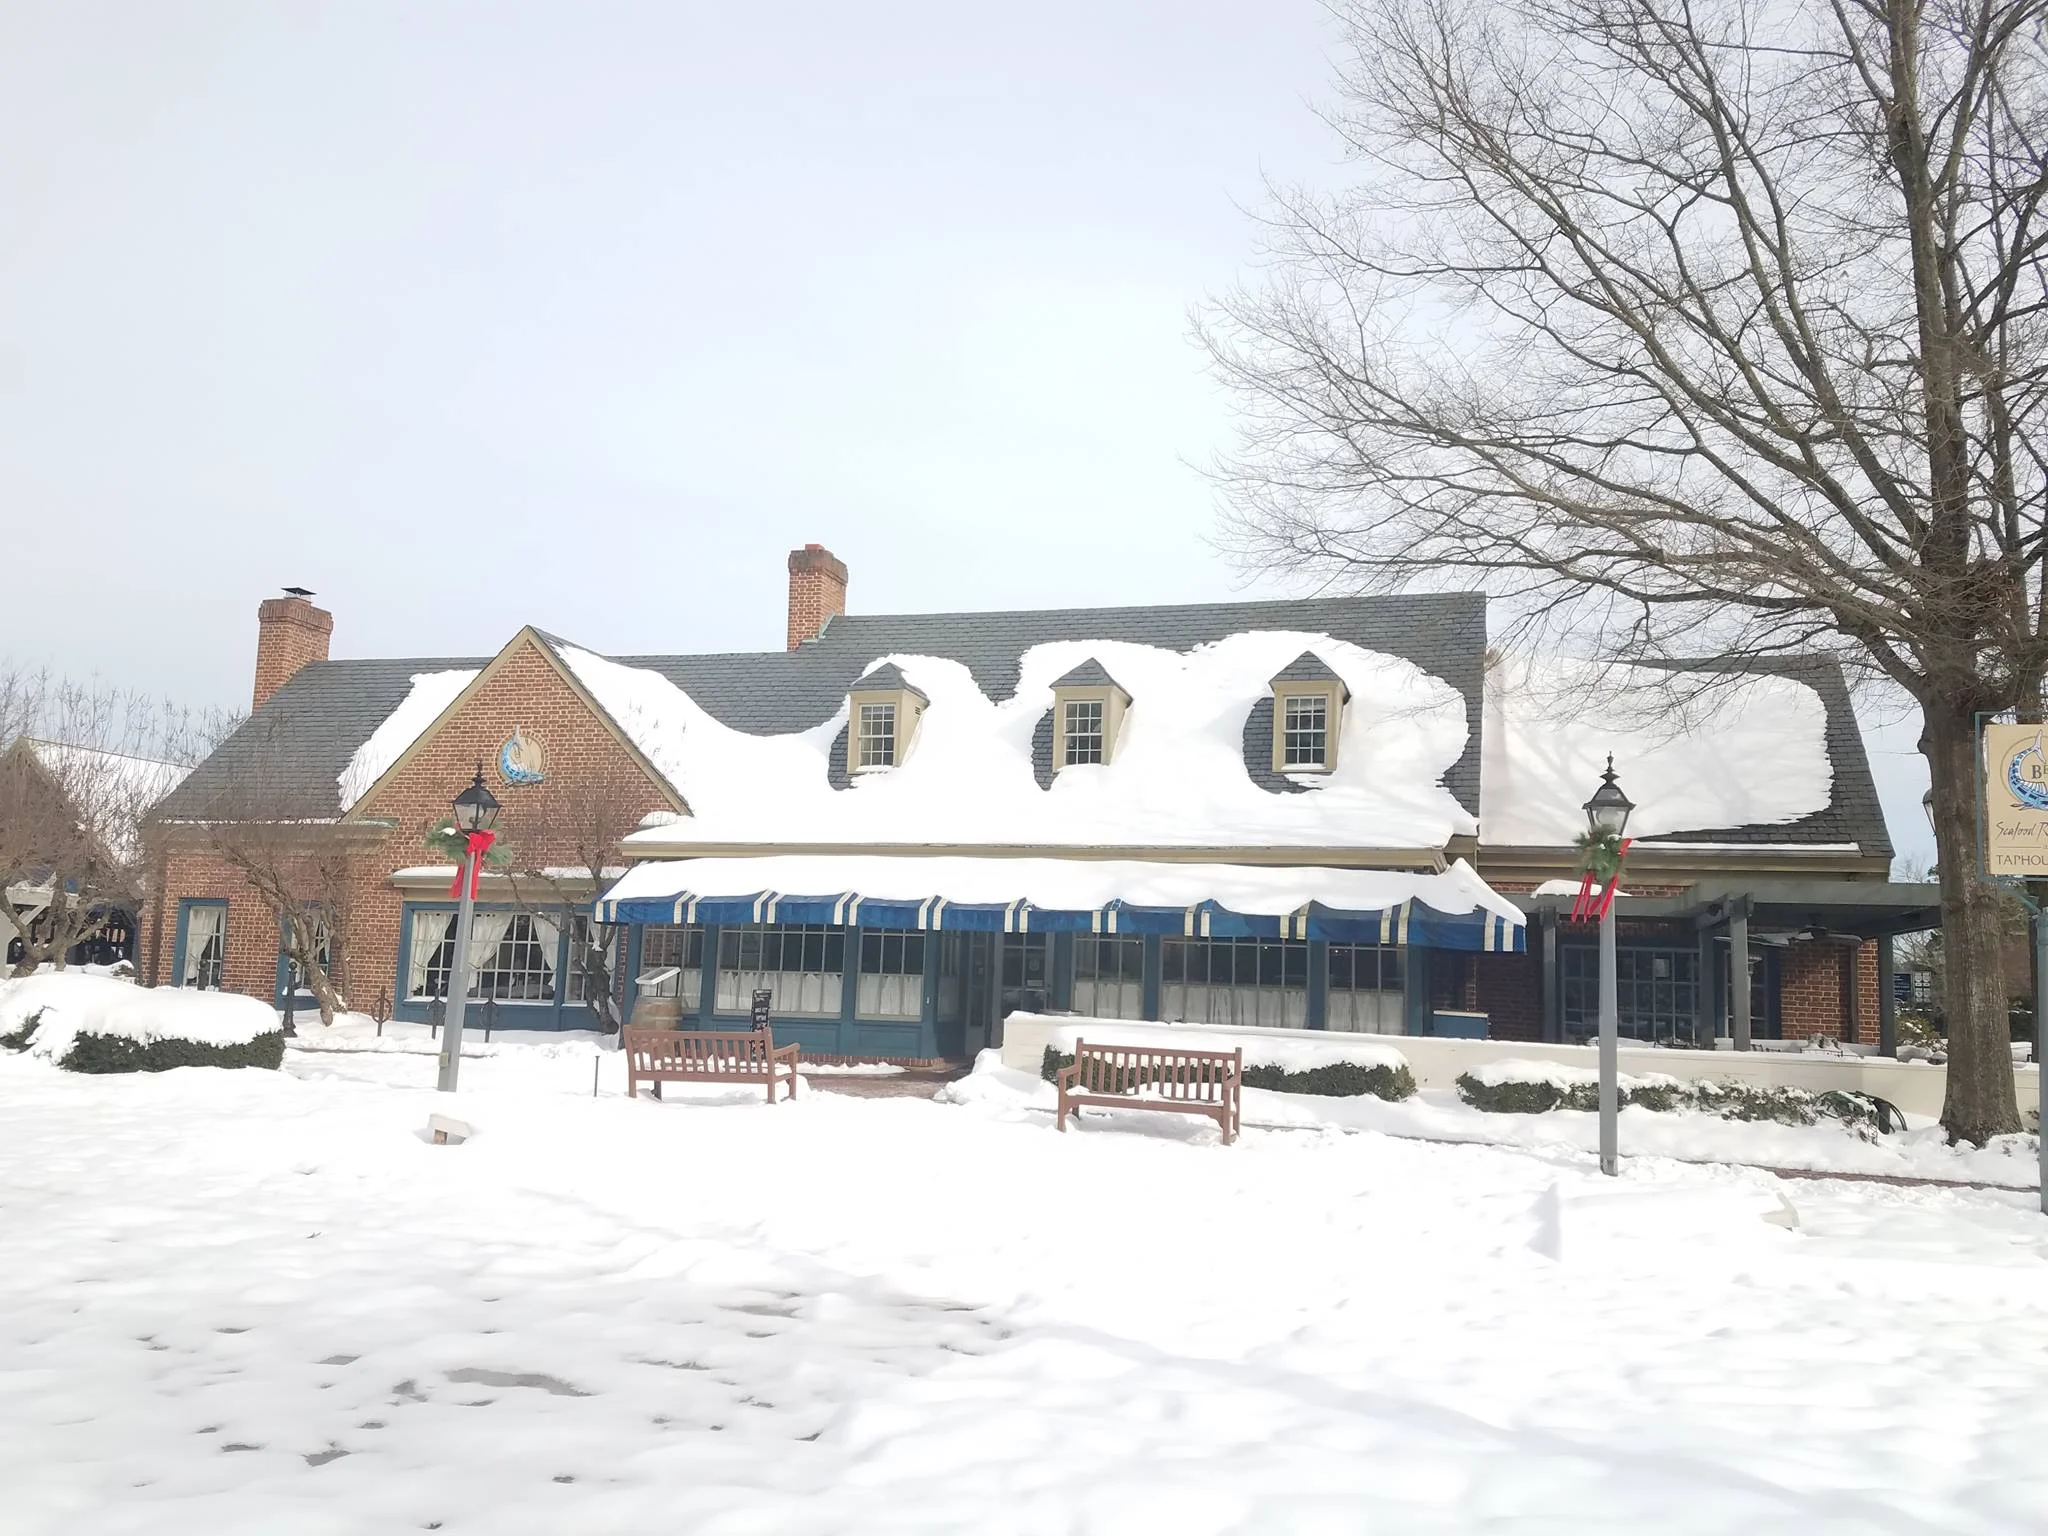
The Before. Seafood Restaurant at Colonial Williamsburg.
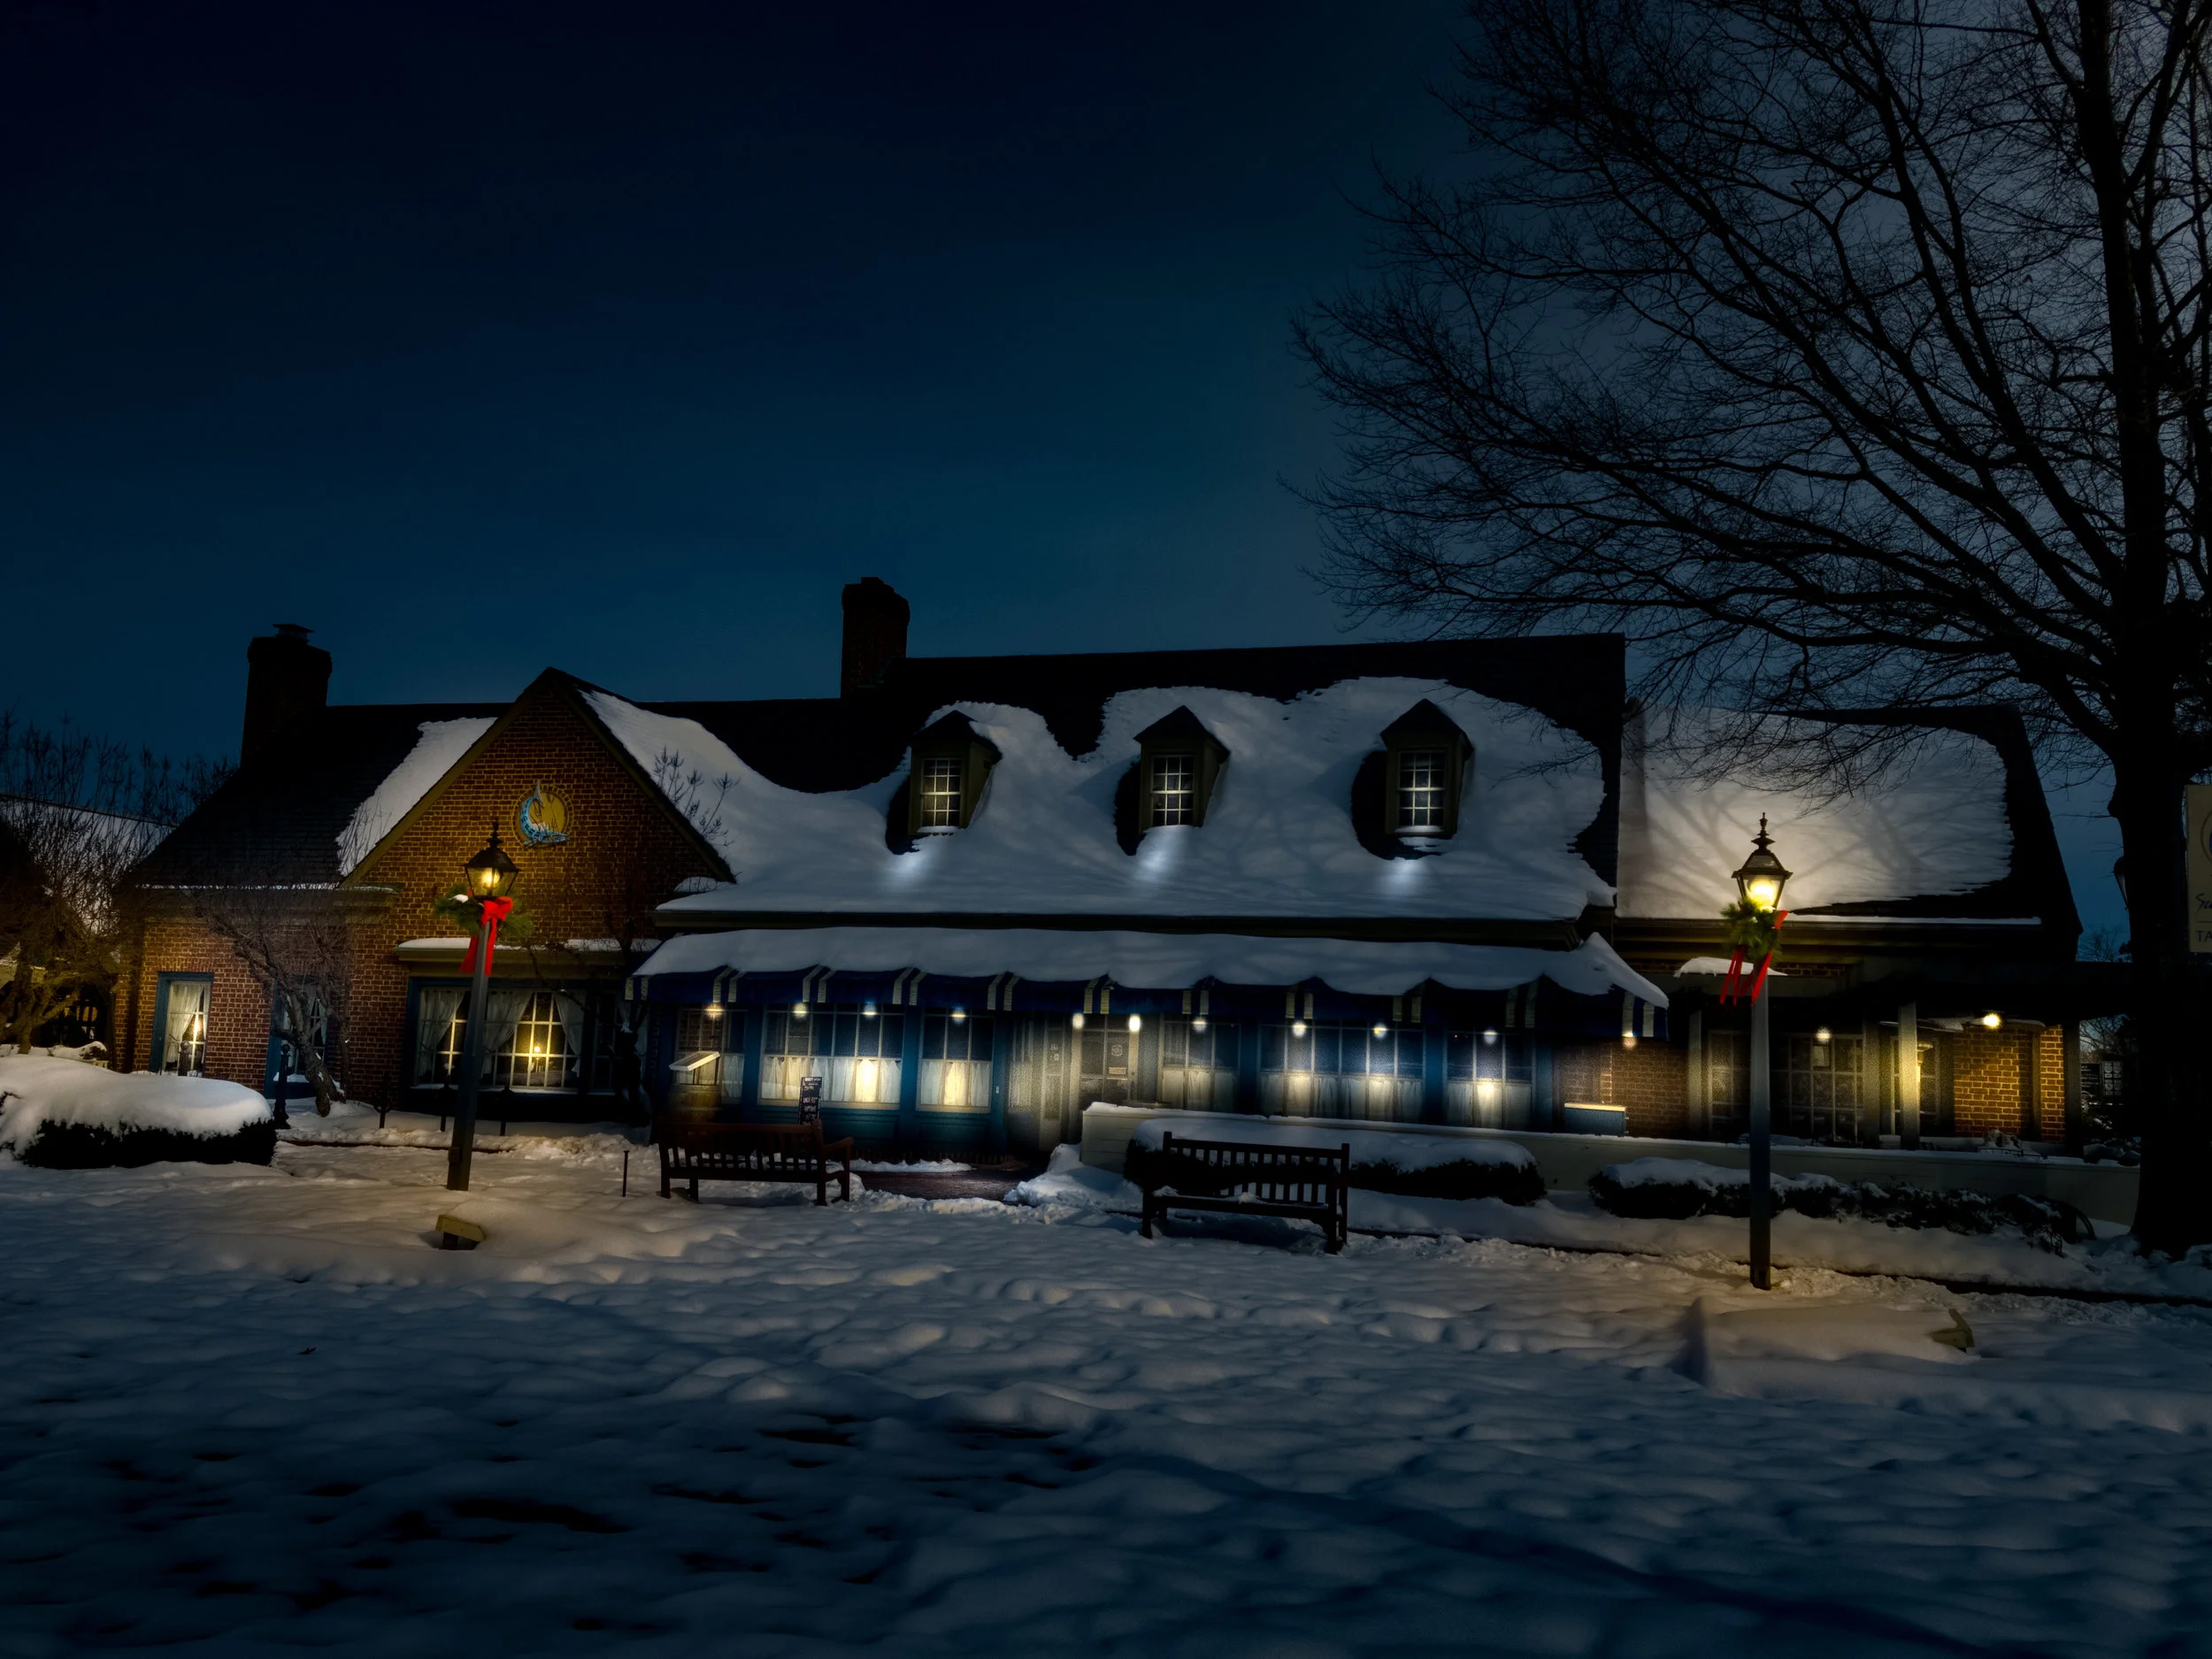
The After. Seafood Restaurant at Colonial Williamsburg.
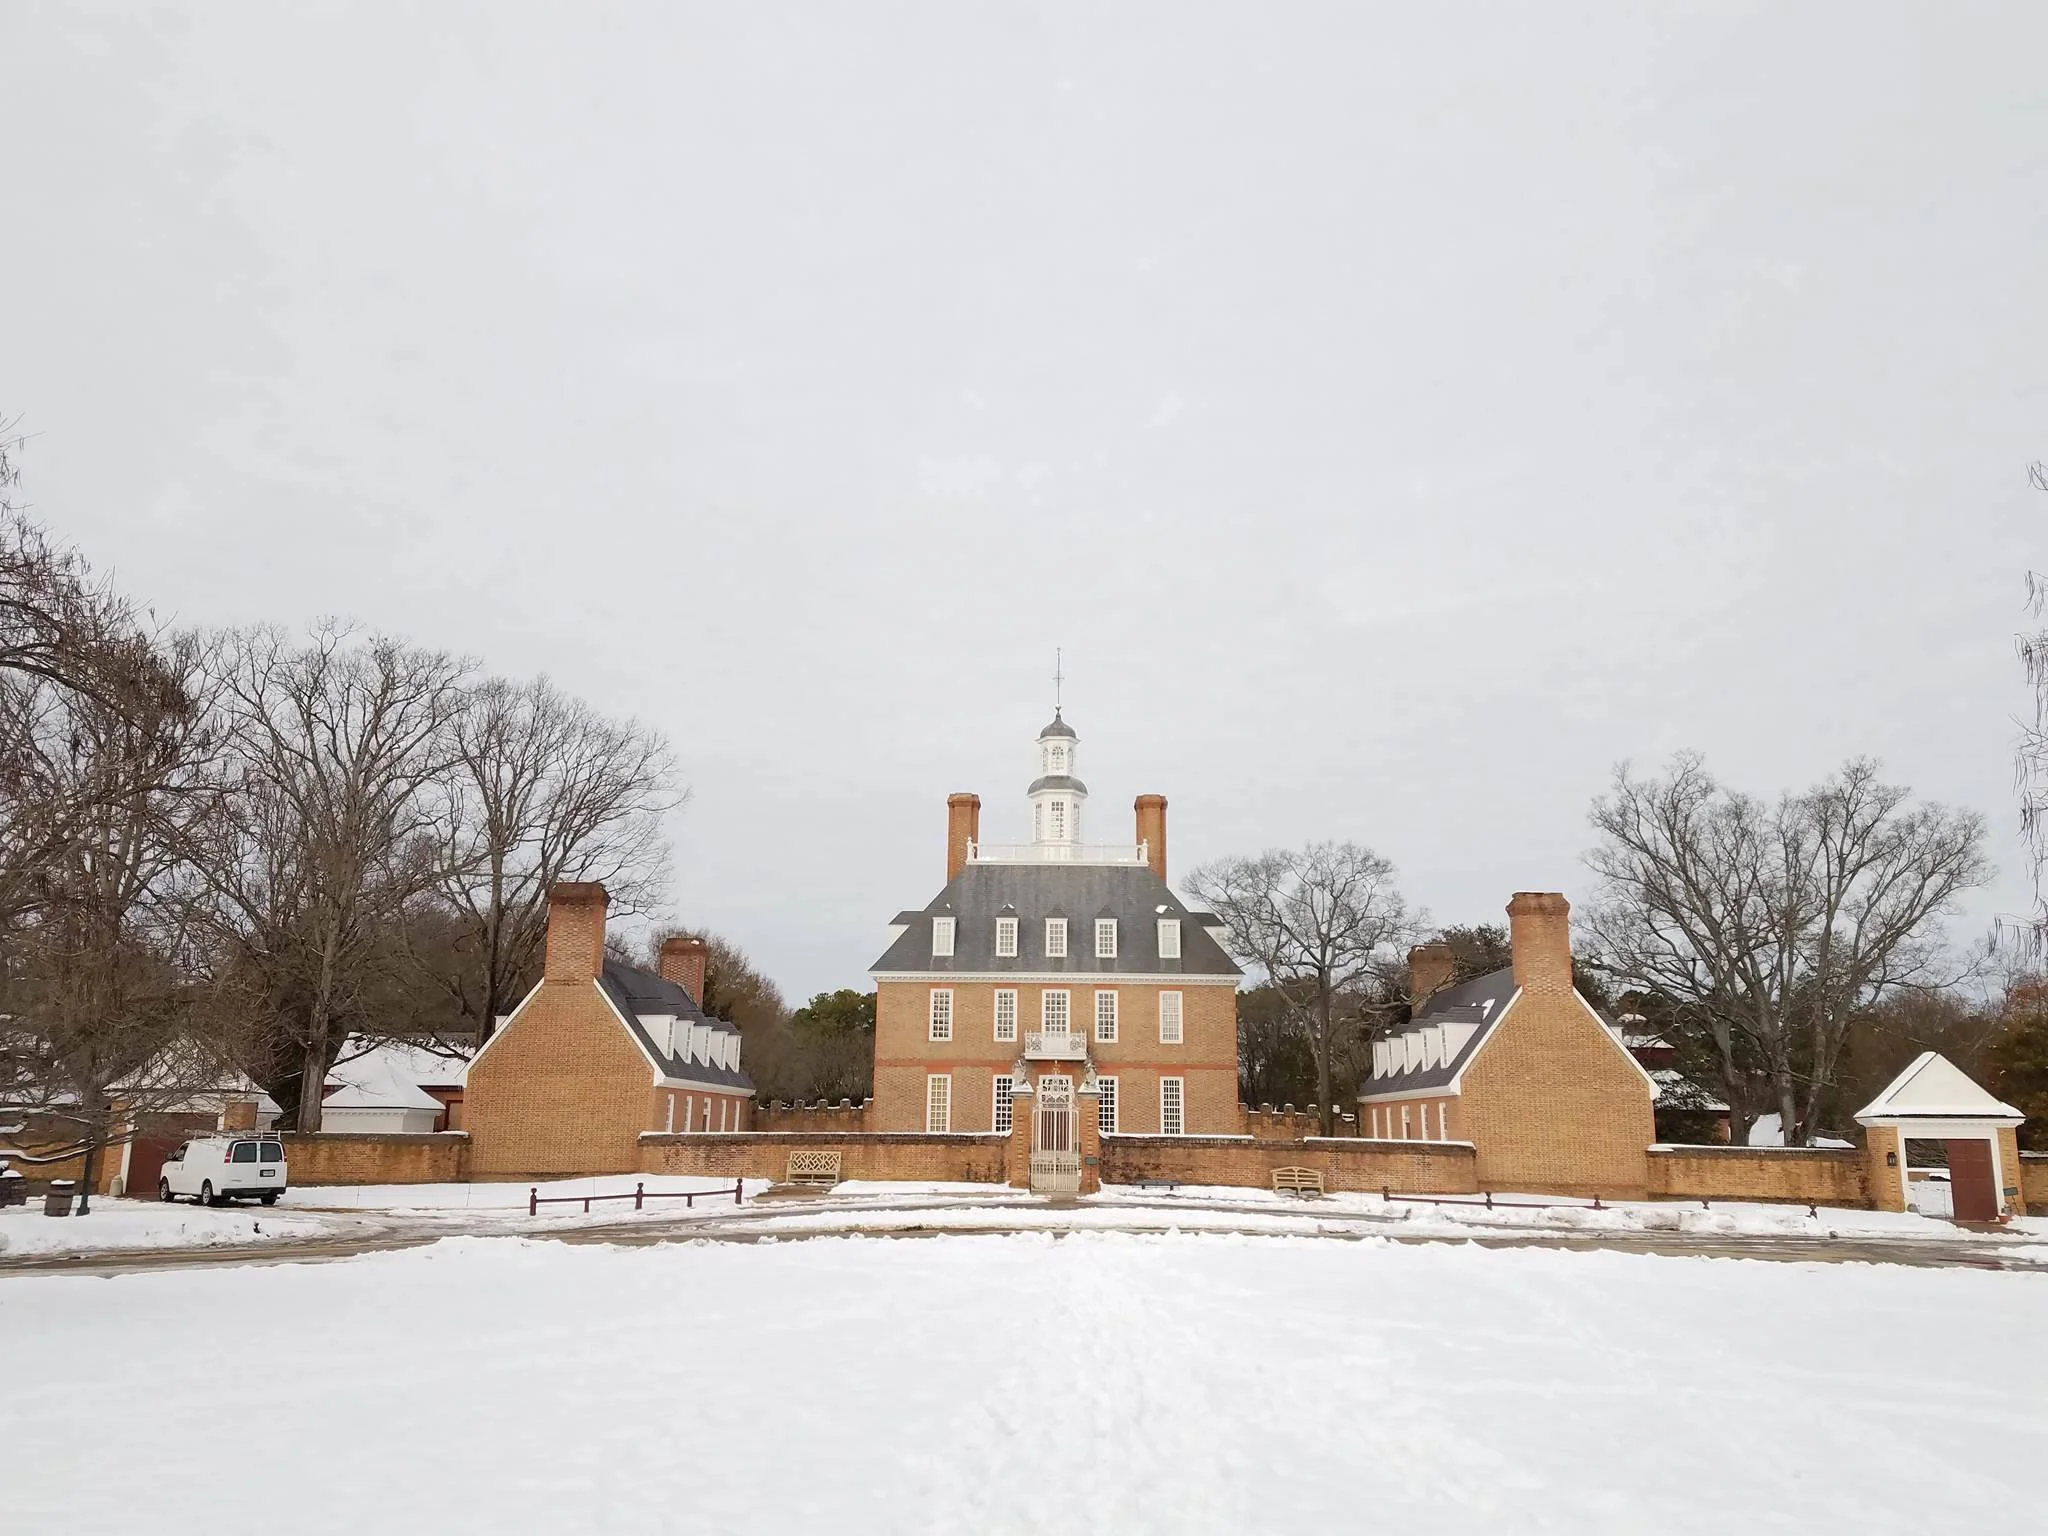
This one is a little bit more involved and requires a bit more attention to detail but also extremely easy to do. Grab a day photo, drop the exposure until the main subject is barely visible. If required, add gradual filters for the sky and the foreground to darken those up too.
The Before, The Govenors Palace, Colonial Williamsburg
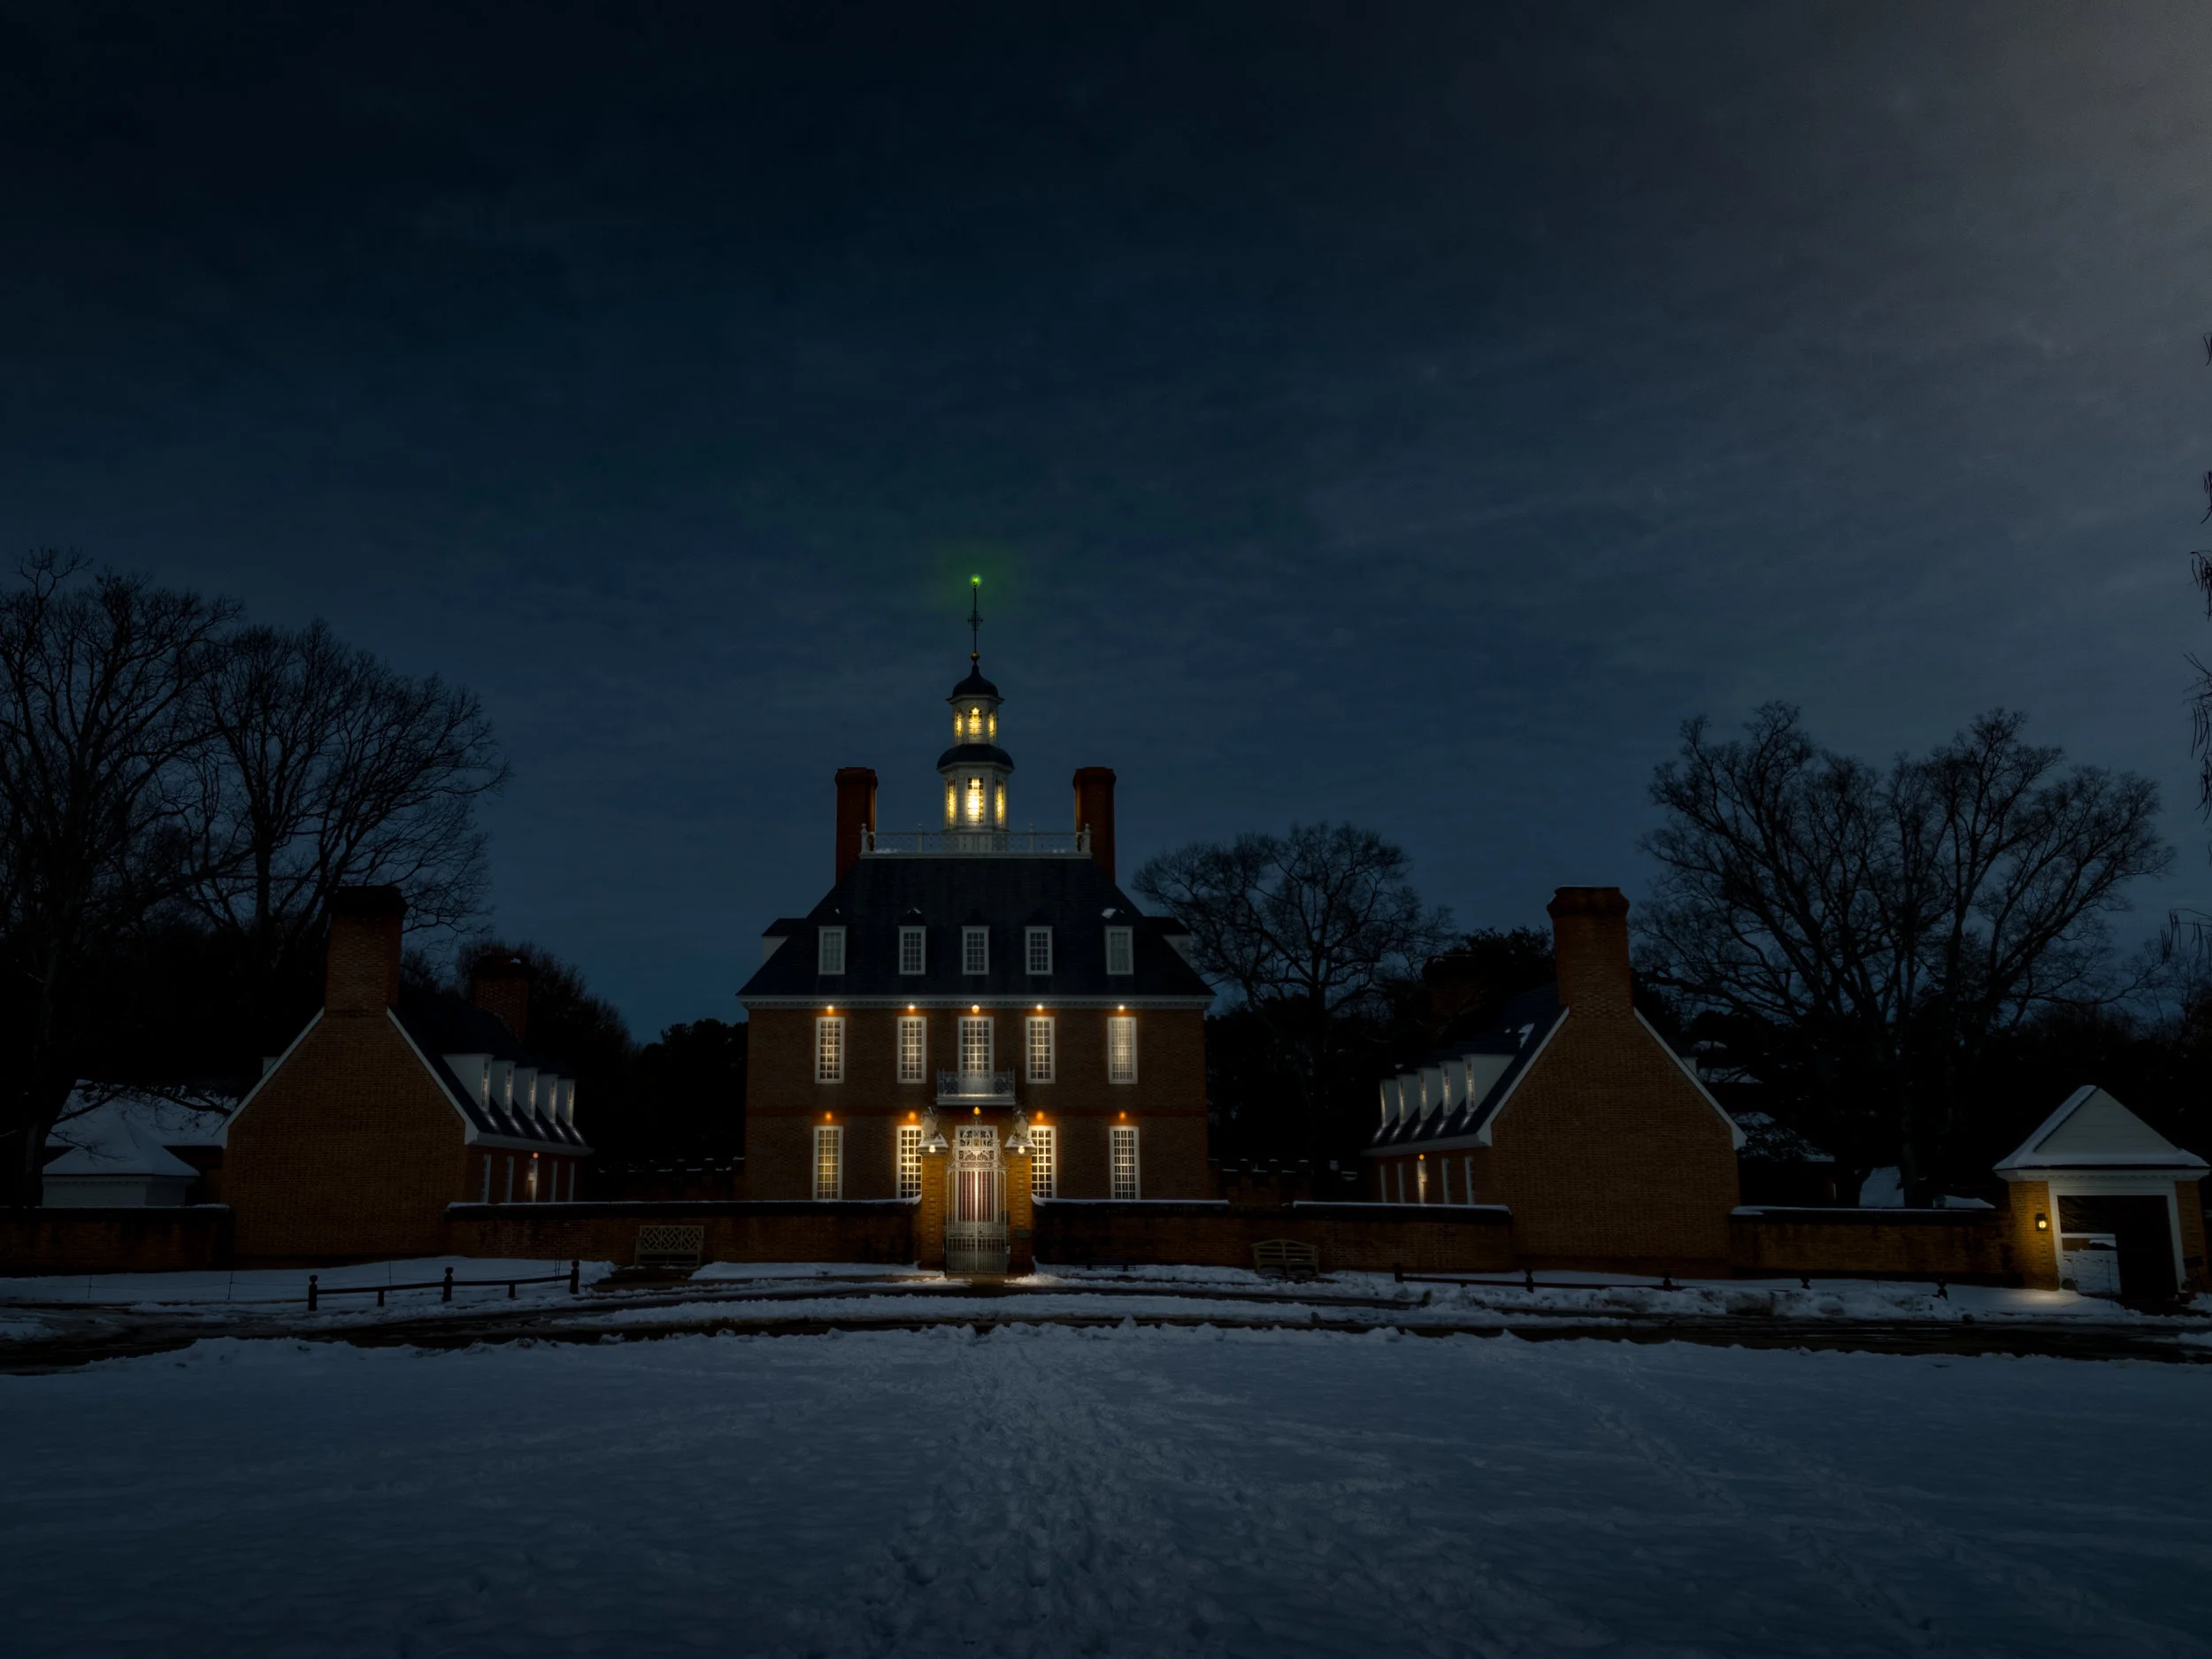
The After, The Govenors Palace, Colonial Williamsburg
After you have your environment properly exposed the way you like it. Take the Temp and drag it over to the blue side to give it that "Blue Hour" sundown effect. This step is where it gets very involved and repetitive. Select the radial filter and create a "lightbulb" sized filter over the light source and set that at Max exposure, this is going to simulate the light source. Duplicate that last filter and expand till you get a nice glowing circle, be sure to drop the exposure down to half, and turn the feathering up to 100% to get a softer glow.
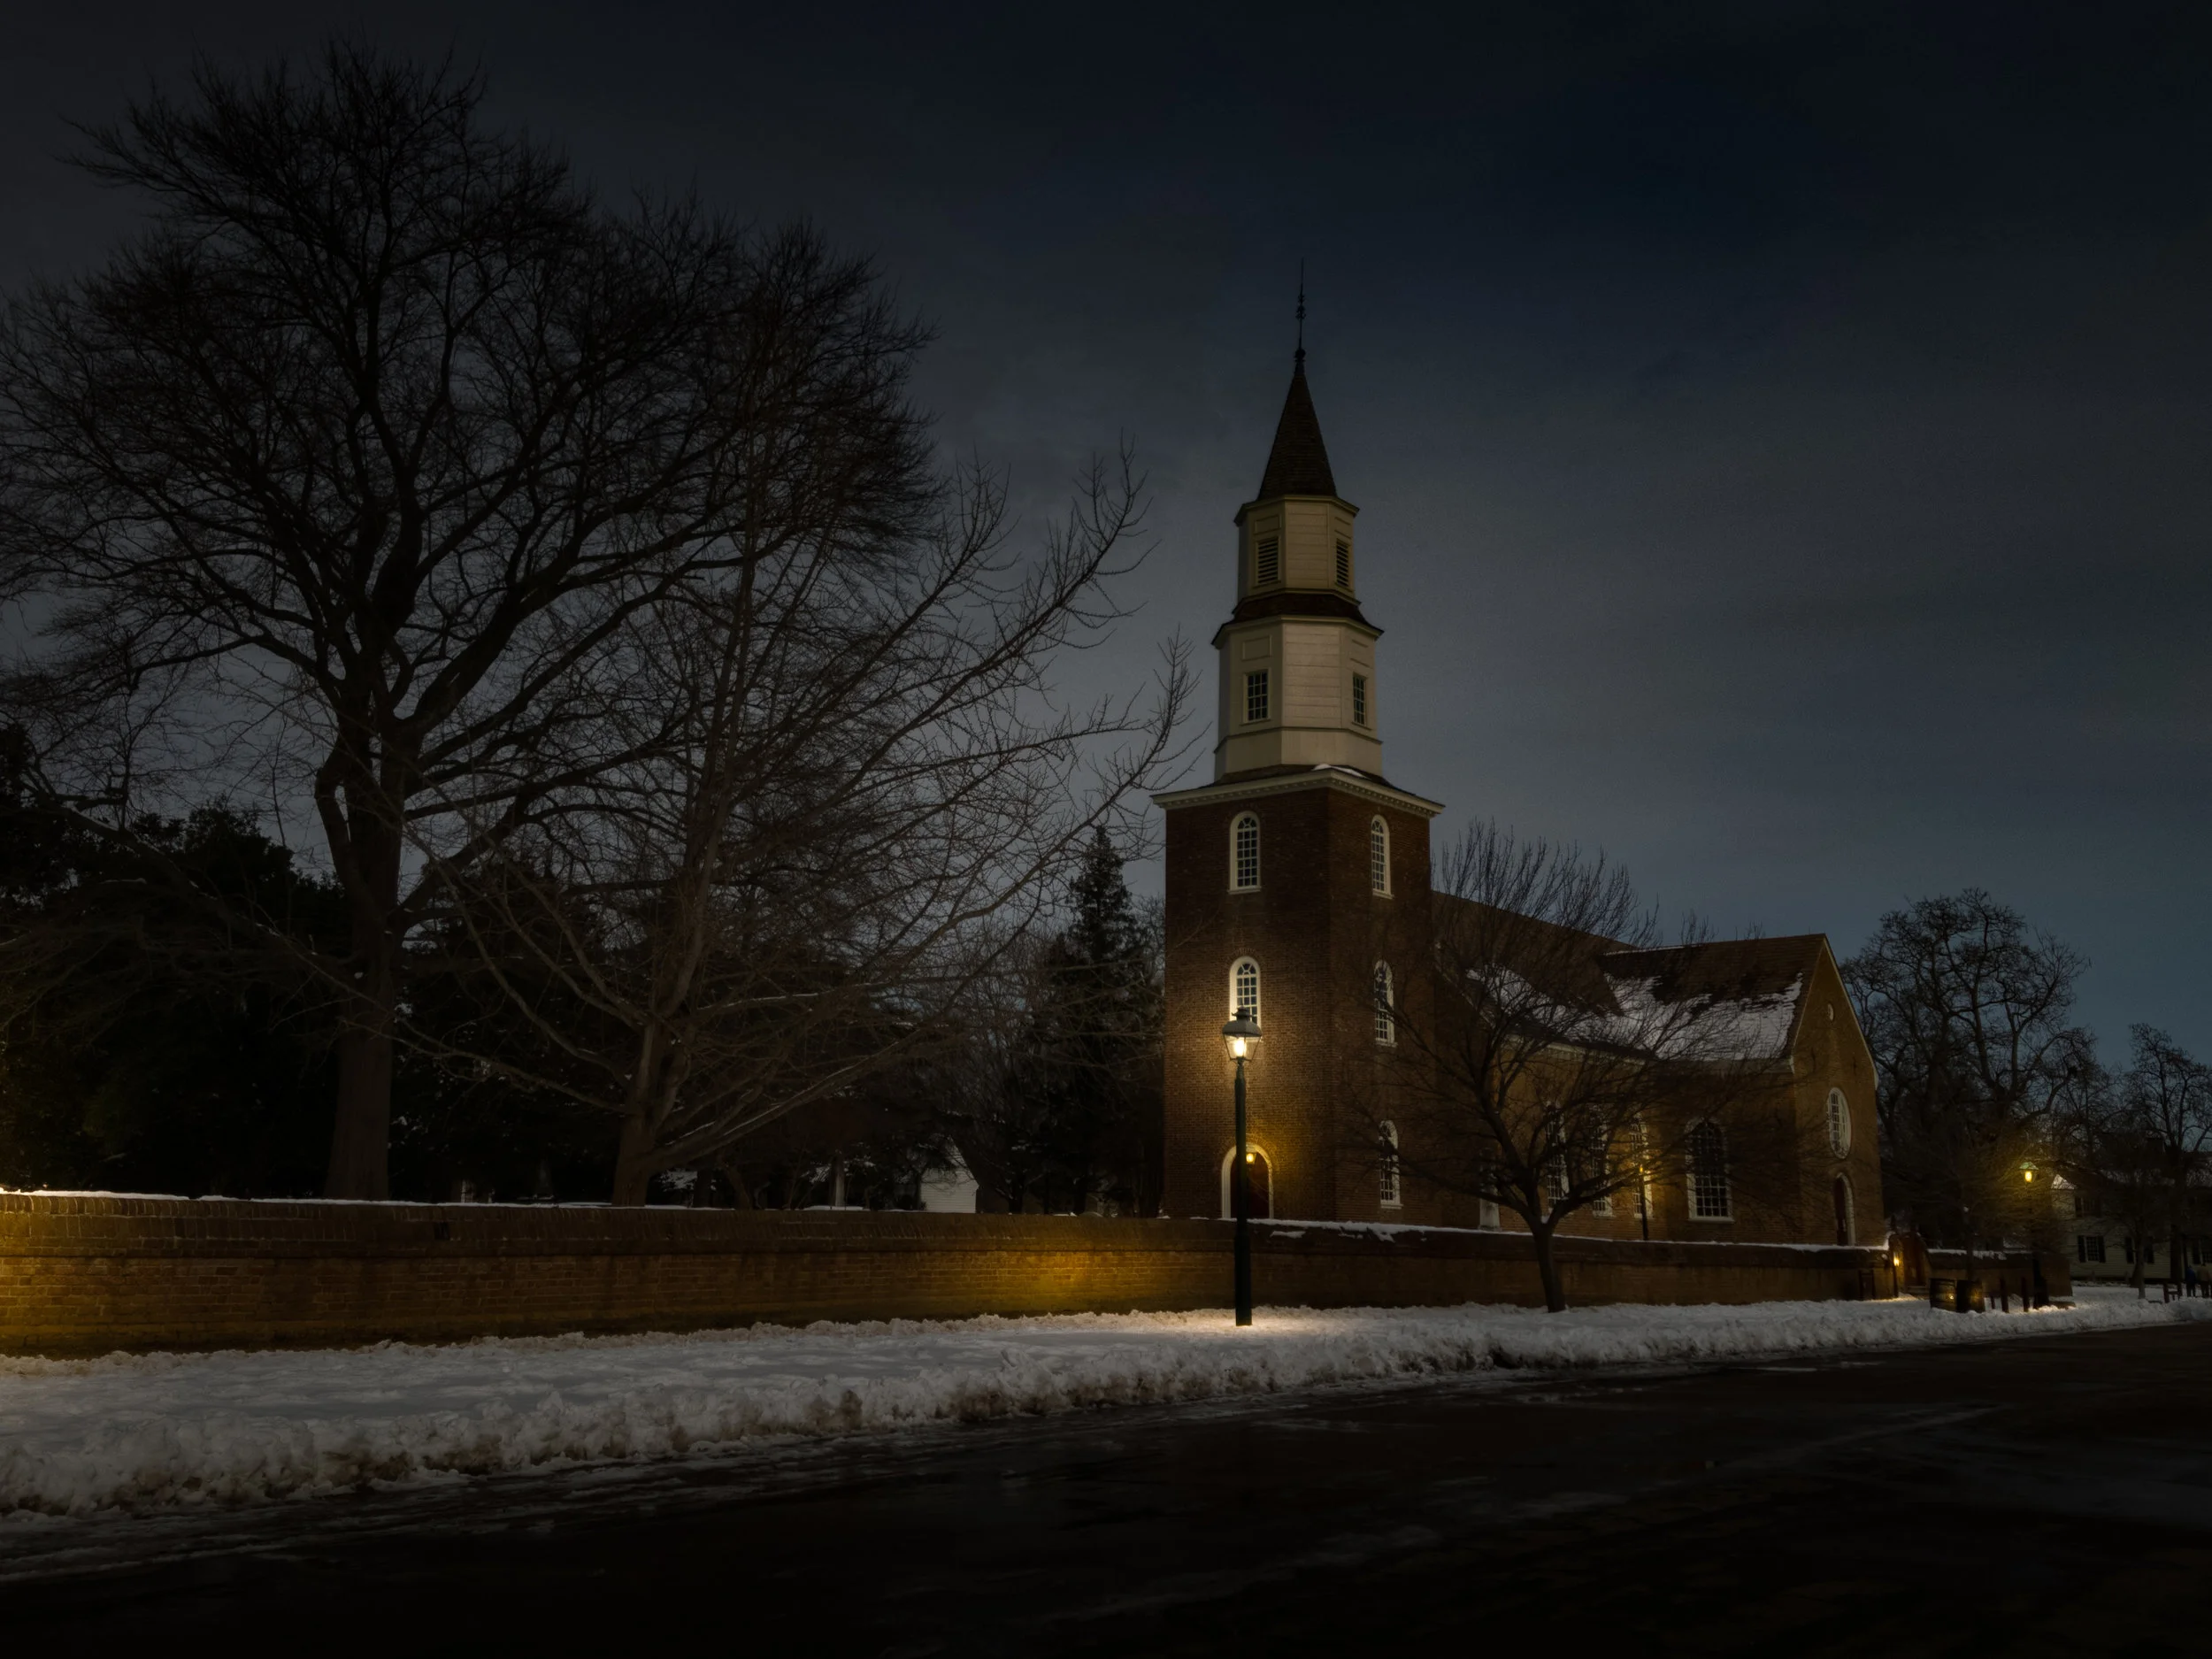
Church at Colonial Williamsburg
Of course, light does not just radiate from the light source and not bounce anywhere. So just like the church above add radial filters to the floor and any other walls that you think the light will bounce off of and give it that same effect as well. Just repeat until you "light up" every light source, and if it comes to it, just add your own light sources. For me this was all fun, I was "painting" light sources all over to make the image more dynamic and fun. That really is the point of these projects, Fun!
That is the conclusion to the 2 mini tutorials. Hopefully, these have been of help to you all! Thank You!
